
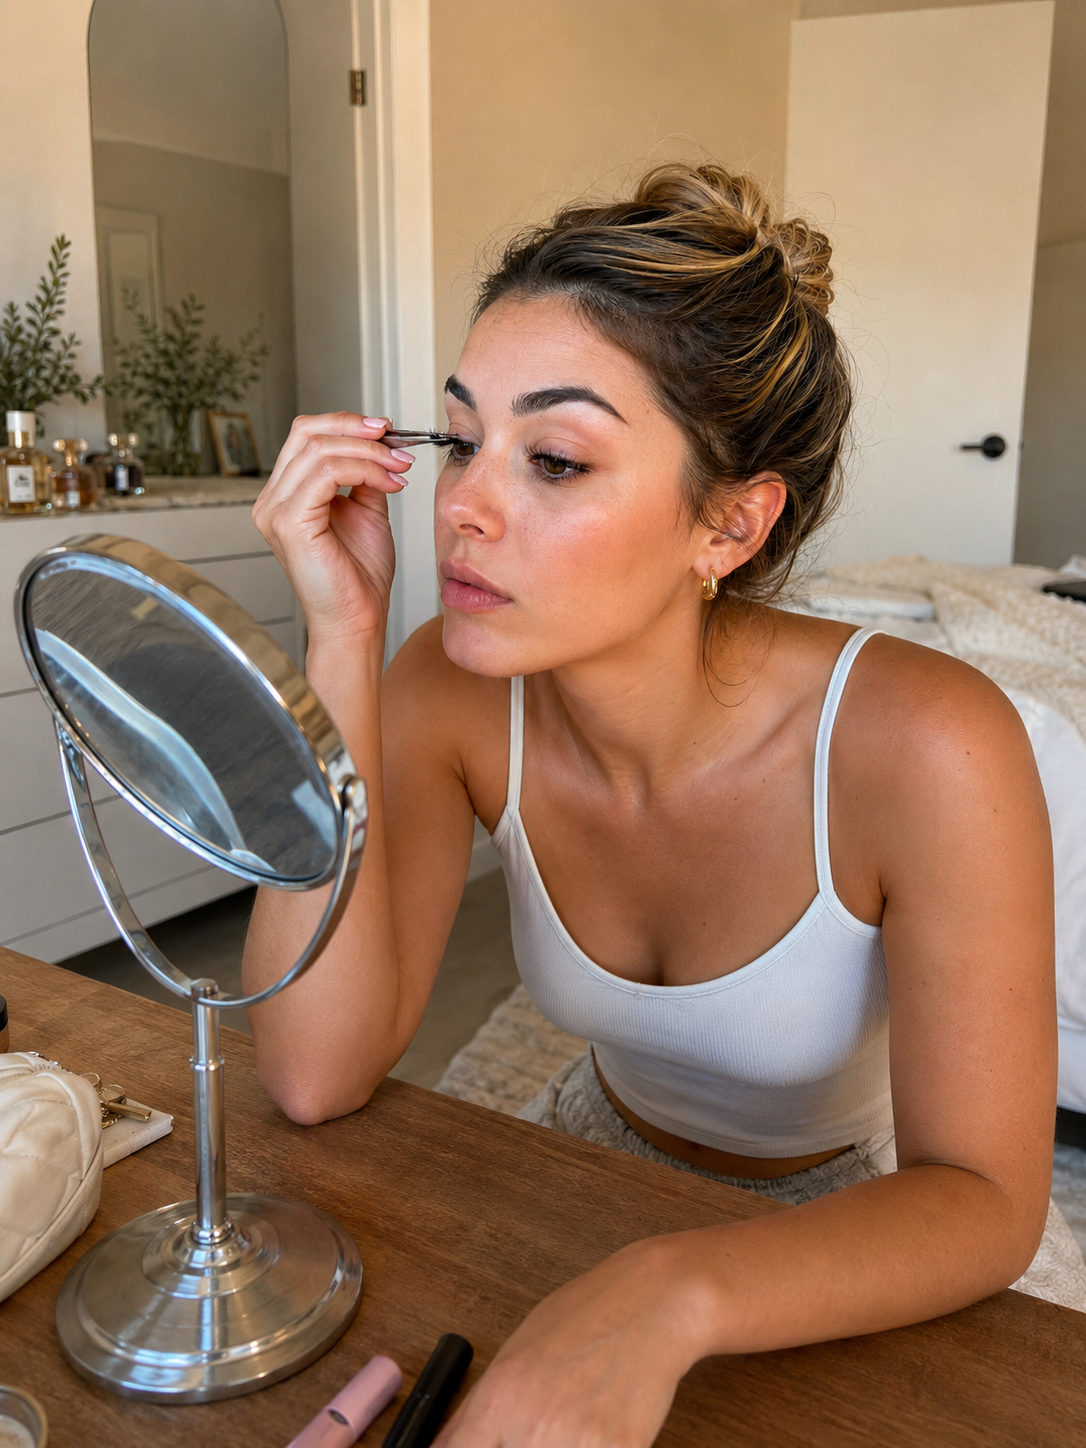
For years, achieving lush, voluminous eyelashes meant choosing between two extremes: time-consuming, expensive salon appointments or cheap daily strip lashes that look unnatural and peel off at the corners by mid-afternoon. Today, the beauty industry has evolved. DIY lash extensions—specifically segment or cluster lashes designed for self-grafting—offer the perfect middle ground, providing a custom salon-worthy finish right from the comfort of your home.
Whether you want a subtle, fluttery accent for everyday wear or dramatic, high-volume glam for special occasions, mastering at-home self-grafting is a game-changer. This comprehensive guide walks you through every phase of the process, from choosing the right materials to seamless application, retention maintenance, and safe removal.
1. Gather Your Essentials
The key to a flawless lash set begins with having the right tools. Attempting to apply cluster extensions with regular cosmetics tools or strip lash glue will result in poor retention, discomfort, or potential lash damage.
Lash Clusters & Adhesive: Choose beginner-friendly segment lashes and a gentle lash bond.
Precision Applicator & Tilting Mirror: Use fine-tipped tweezers and an adjustable mirror so you can look down into it while applying.Tip: For an ultra-lightweight, weightless feel that lasts all day, try the Maxcomfi DIY Natural Wispy Lash Extension Kit. Designed specifically for self-application, its flexible band and ultra-soft fibers blend effortlessly with your natural lashes.
2. Prep Your Natural Lashes
The single biggest reason at-home extensions fail prematurely is improper prep work. Adhesive cannot bond properly to greasy or dirty hair fibers. Follow these steps to prepare your eyes before applying a single cluster:
Thorough Oil-Free Cleansing: Wash your entire eye region with an oil-free micellar water or dedicated lash foam cleanser. Avoid creamy cleansers or cleansing oils, as even invisible oily films prevent adhesive from curing.
Complete Moisture Removal: Gently pat your eye area completely dry with a lint-free towel. Do not apply eye cream, facial oils, or heavy moisturizers anywhere near your lids prior to application.
Groom and Separate: Use a clean spoolie brush to comb through your natural lashes, ensuring there are no crisscrossed hairs or leftover mascara clumps.
3. Apply with Precision
Applying lash clusters yourself requires a slightly different approach than salon extensions. Instead of placing extensions on top of the lash line, at-home clusters are applied to the underside of your natural upper lashes for a hidden, undetectable finish.
Dip Lightly: Pick up a lash segment with your tweezers and dip the base lightly into the bond. Avoid over-saturating the base.
Placement: Place the lash segment under your natural lashes, about 1–2 mm away from your lash line. Never apply glue directly onto the skin or waterline.
Secure: Press gently at the base for a few seconds to let the bond set before moving to the next segment.
4. Lock It In & Aftercare
To ensure your new set stays immaculate for days without shedding, proper aftercare is mandatory:
Seal the Bond: Brush a light layer of Maxcomfi Lash Glue along the base of your newly applied extensions. The sealer neutralizes sticky residual bond, seals out moisture, and coats the set with a protective, waterproof barrier.
Observe the 24-Hour Rule: Avoid steam, hot showers, intense workouts, and swimming for the first 24 hours while the adhesive fully cures.
Switch to Oil-Free Products: Use only oil-free makeup removers and facial cleansers. Avoid applying heavy facial oils directly around the orbital bone.
Sleep Strategy: Try to sleep on your back or use a satin/silk pillowcase to prevent friction from twisting or bending your lash extensions overnight.
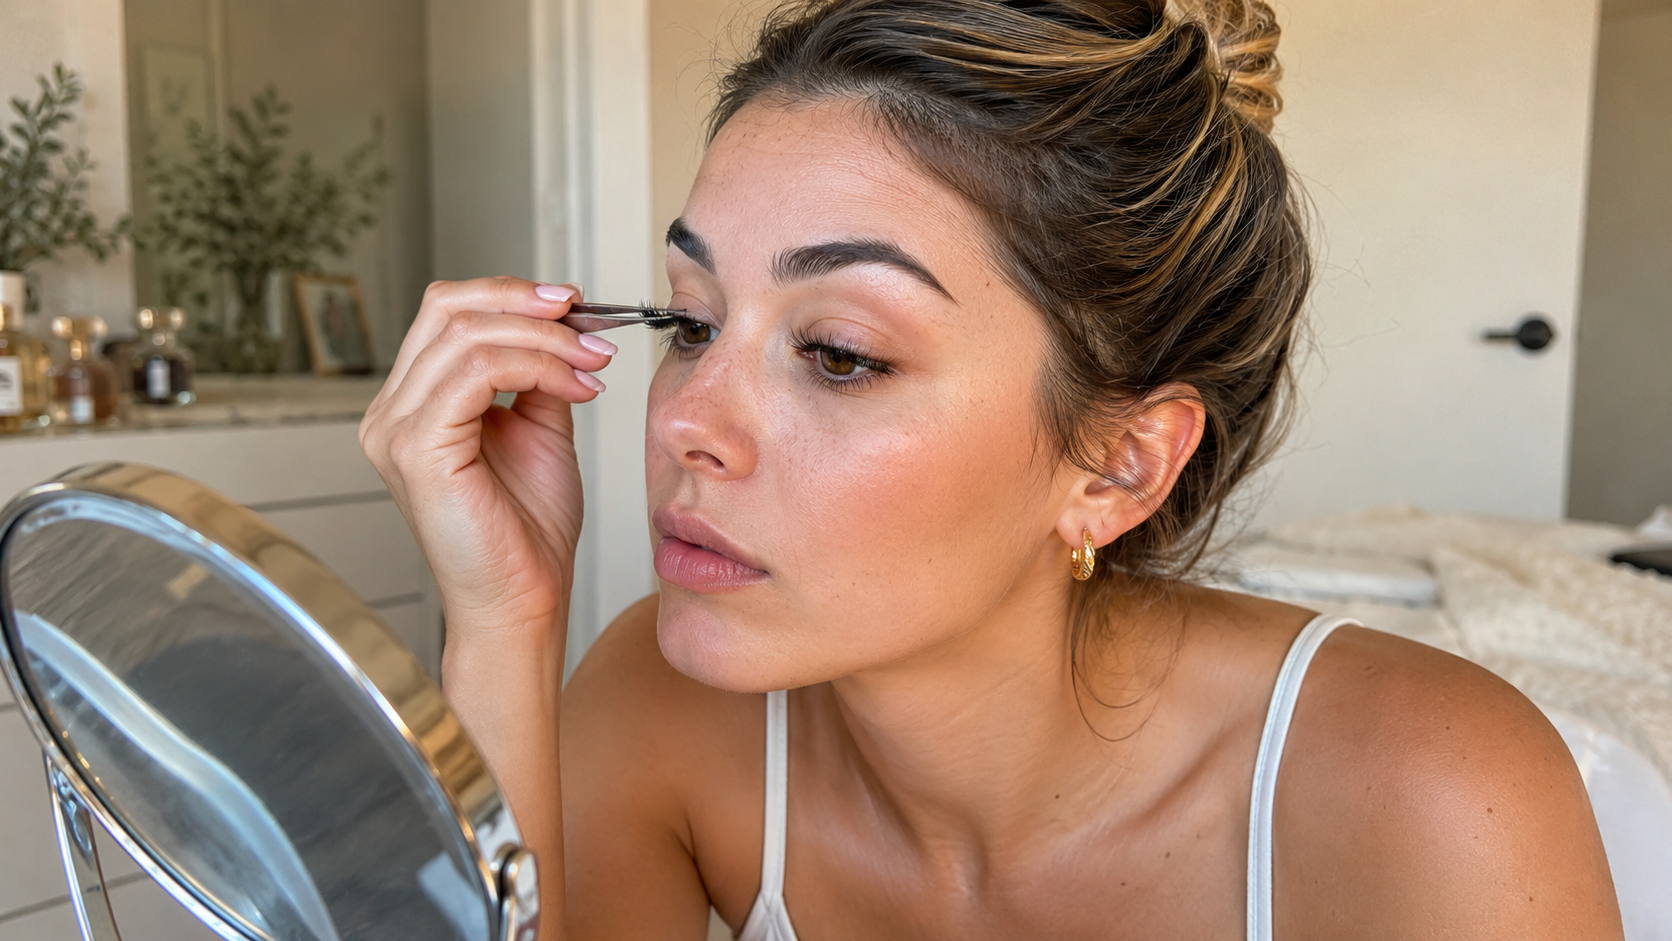
With just a little practice, self-grafting your lashes at home becomes quick and effortless. Grab your favorite Maxcomfi style today and enjoy salon-worthy lashes from the comfort of your couch!